Assembly Instructions
- Prepare the Material: Gather all paper pieces, glue, and a stable workspace. It's best to work in pairs.
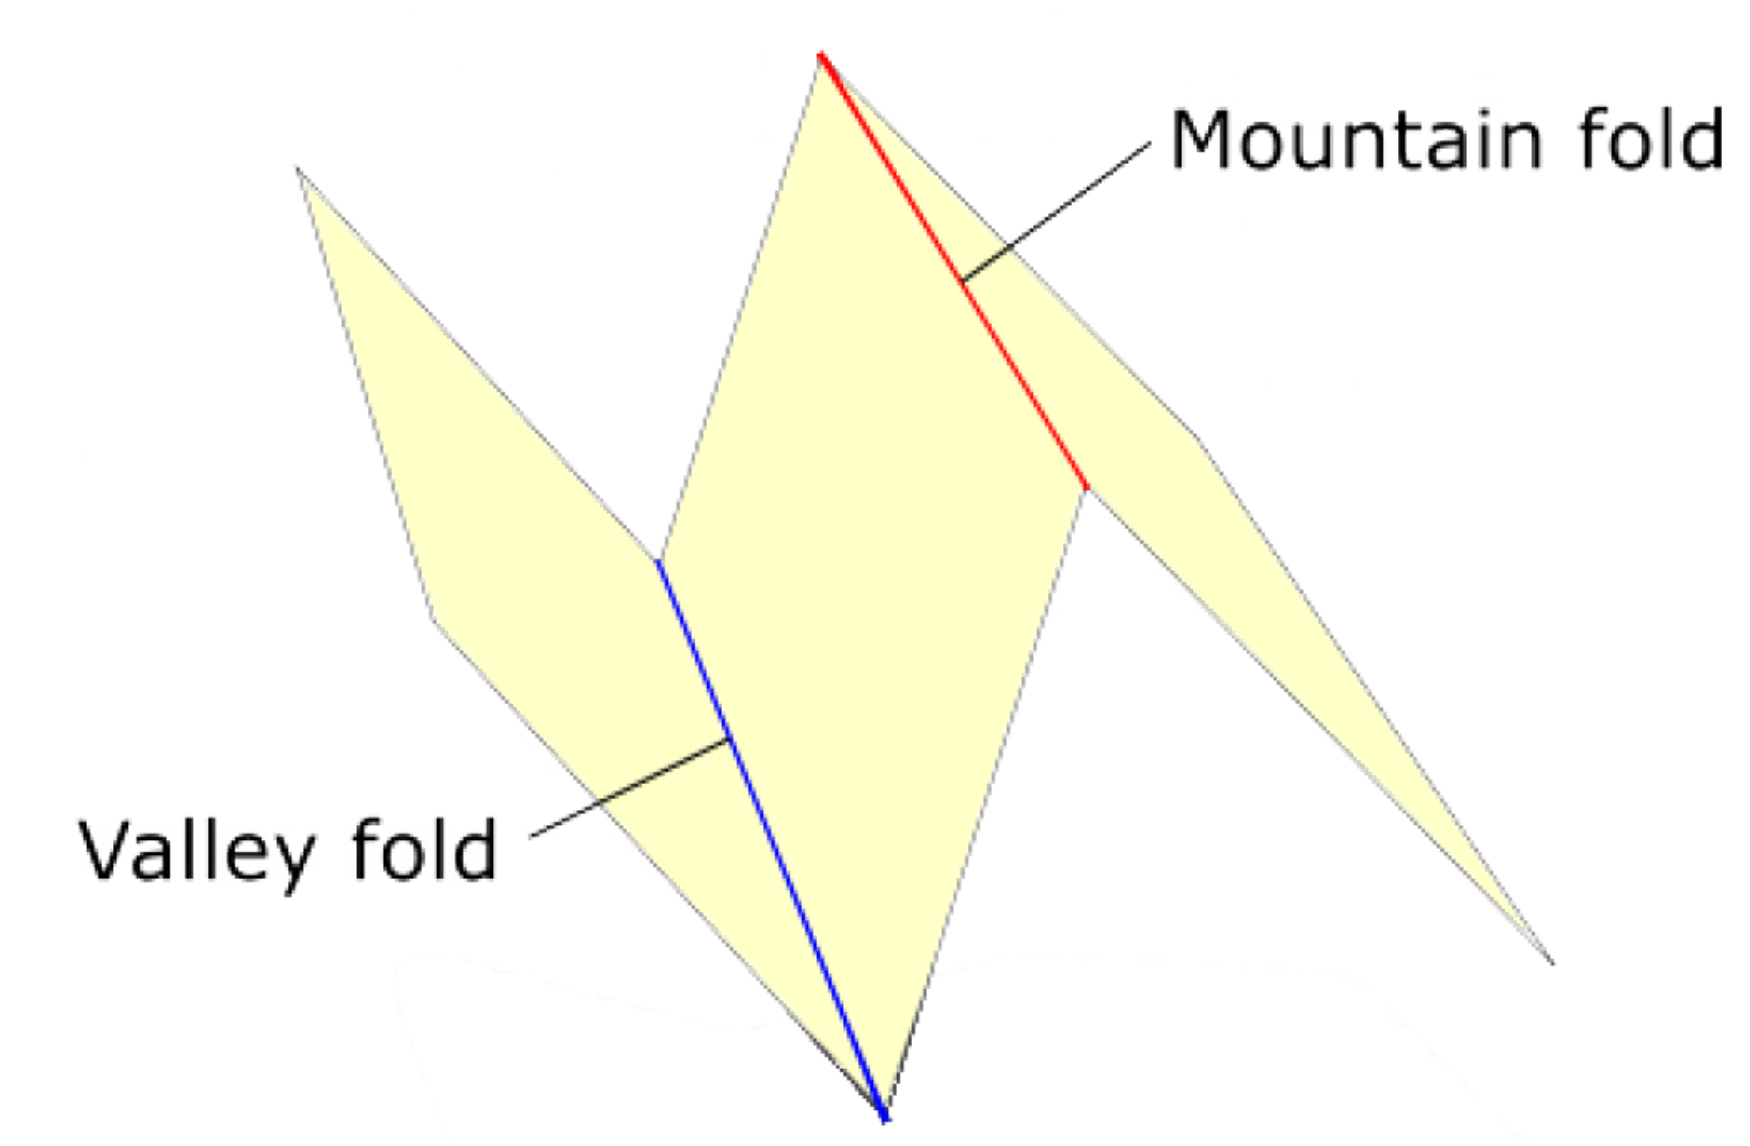
- Identify and Fold: Recognize the two types of dotted lines:
- Dashed line (---): mountain fold
- Dotted line (…): valley fold
- Pre-fold All Pieces: Before gluing anything, pre-fold all the parts to make final assembly smoother.
- Apply Glue: Use a small amount of glue on the numbered flaps. Avoid using too much to prevent warping.
- Follow the Numbers: Assemble the parts in numerical order (e.g., tab 1 connects to slot 1).
- Hold Until Set: After pressing two parts together, hold them for a few seconds until the glue begins to set.
- Work in Sections: Build the model in sections (base, sides, dome, etc.), then combine them carefully.
- Allow to Dry: Let the model rest for at least 10–15 minutes before moving or displaying it.
- Enjoy and Display: Place your completed model on a shelf or desk — you’ve just built a piece of Florence!